Tag: Content Creation

  • How to prevent Cumulative Layout Shift (CLS) when adding Ads on your site.

    How to prevent Cumulative Layout Shift (CLS) when adding Ads on your site.

    To prevent ads from causing layout shifts on your site, it’s important to implement best practices for ad placement and sizing. Here are some effective strategies:

    1. Specify Size for Ad Containers

    • Always define the width and height of your ad units in pixels or percentages. This ensures the browser reserves space for the ad before it loads.
    <div class="ad-container" style="width: 300px; height: 250px;">
    <script>/* Ad code here */</script>
    </div>

    2. Use Responsive Ads Carefully

    • If using responsive ad units, ensure the parent container has a defined aspect ratio. This helps maintain layout integrity during loading.
    .responsive-ad {
    width: 100%; /* Full width */
    height: auto; /* Maintain aspect ratio */
    padding-bottom: 75%; /* Example aspect ratio for 300x250 */
    position: relative; /* Position relative for absolute child */
    }

    3. Implement a Placeholder for Ads

    • Create a placeholder or a “dummy” ad container with fixed dimensions. This helps prevent layout shifts while the ad loads.
    code<div class="ad-placeholder" style="width: 300px; height: 250px;">
    <!-- Placeholder content -->
    </div>

    4. Reserve Space for Ads in CSS

    • Use CSS to ensure there’s a reserved space for the ad. This can be particularly useful for dynamic ads where the size might vary.
    code.ad-space {
    width: 300px; /* Fixed width */
    height: 250px; /* Fixed height */
    overflow: hidden; /* Hide overflow */
    }

    5. Load Ads Asynchronously

    • Load ads asynchronously to prevent them from blocking the rendering of other content. This can improve the overall loading experience.
    <script async src="https://your-ad-script.js"></script>

    6. Use Lazy Loading for Ads

    • Consider lazy loading ads that are off-screen. This can help manage loading times and prevent layout shifts for ads that aren’t immediately visible to the user.
    code<div class="lazy-ad" data-src="your-ad-code">
    <!-- Lazy loading logic -->
    </div>

    7. Minimize the Use of Pop-Up Ads

    • Avoid using pop-up ads that cover the main content and cause shifts when they appear. Instead, consider using static banners that fit within the layout.

    8. Test Your Ads Setup

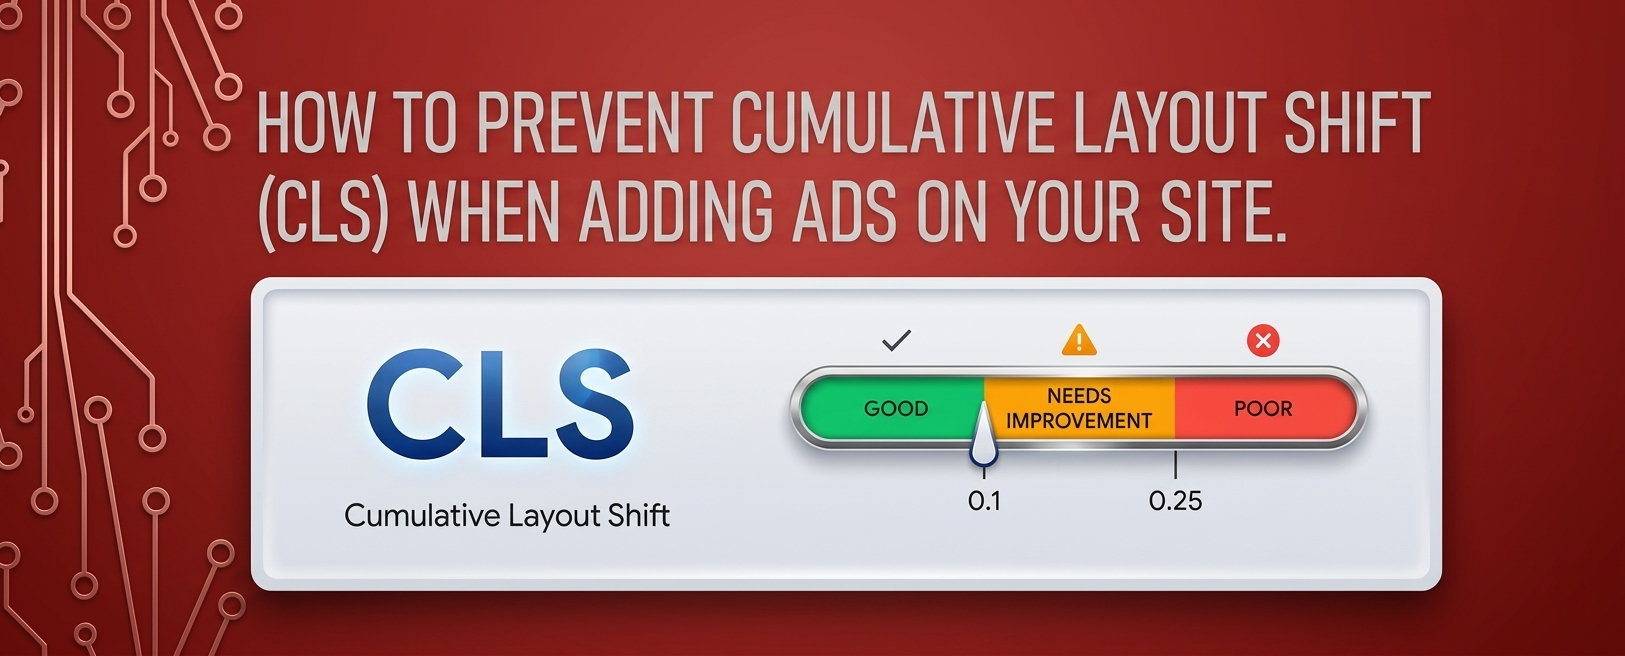
    • After implementing your ads, use tools like Google PageSpeed Insights or Lighthouse to check your CLS score and see if the ads are causing any layout shifts.

    9. Regularly Update Ad Sizes

    • Stay updated with the latest ad sizes recommended by ad networks and make sure your site accommodates these dimensions properly.

    Conclusion

  • Tips on how to improve LCP on your site after monetization

    Tips on how to improve LCP on your site after monetization

    Improving Largest Contentful Paint (LCP) on your site after monetization is essential for ensuring a positive user experience. LCP measures how quickly the largest visible content element on your page loads and is fully rendered. A good LCP score is under 2.5 seconds. Here are several strategies to enhance LCP while managing your monetization efforts:

    1. Optimize Images and Media

    • Use Appropriate Formats: Use modern image formats like WebP or AVIF, which offer better compression without compromising quality.
    • Compress Images: Optimize images to reduce file sizes. Use tools like TinyPNG or ImageOptim to compress images without significant loss in quality.
    • Specify Dimensions: Always specify the width and height attributes in your image tags or CSS. This helps the browser allocate space for images before they load.
    htmlCopy code<img src="example.webp" alt="Example" width="800" height="600">
    

    2. Improve Server Response Times

    • Optimize your server and hosting environment to ensure fast response times. This may involve choosing a better hosting plan or provider, optimizing your database, or using server-side caching.

    3. Use a Content Delivery Network (CDN)

    • Implement a CDN to serve static assets (like images, CSS, and JavaScript) from locations closer to your users. This reduces latency and speeds up content delivery.

    4. Minimize Render-Blocking Resources

    • Defer Non-Critical JavaScript: Use the defer or async attributes for script tags to prevent them from blocking rendering of the main content.
    • Inline Critical CSS: Inline critical CSS needed for rendering the above-the-fold content and load non-critical CSS asynchronously.

    5. Optimize Fonts

    • Load web fonts efficiently by using the font-display: swap; property in your CSS. This ensures text is visible while fonts are loading, preventing delays in rendering.
    cssCopy code@font-face {
        font-family: 'MyFont';
        src: url('myfont.woff2') format('woff2');
        font-display: swap;
    }
    

    6. Eliminate Unnecessary Plugins and Scripts

    • Review your site’s plugins and scripts, especially third-party ones like ads and tracking scripts. Remove any that are unnecessary, as they can slow down your site.

    7. Lazy Load Off-Screen Content

    • Implement lazy loading for images and iframes that are off-screen to reduce the initial load time for above-the-fold content.
    htmlCopy code<img src="example.jpg" loading="lazy" alt="Example">
    

    8. Optimize Your CSS

    • Minimize and compress CSS files to reduce their size and improve loading times. Combine CSS files where possible to reduce the number of HTTP requests.

    9. Reduce the Size of Your HTML

    • Optimize your HTML structure to reduce its size. Remove unnecessary comments and whitespace, and ensure that only essential elements are loaded initially.

    10. Monitor and Test Regularly

    Use tools like Google PageSpeed Insights, Lighthouse, or WebPageTest to monitor your LCP score and identify areas for improvement. Make adjustments based on the insights gained from these tools.

  • Introduction to Bing Ads (Microsoft Advertising)

    Introduction to Bing Ads (Microsoft Advertising)

    Introduction to Bing Ads (Microsoft Advertising)

    Bing Ads, now rebranded as Microsoft Advertising, is a pay-per-click (PPC) platform that allows website owners to monetize traffic by displaying targeted ads. These ads appear on Bing, Yahoo, MSN, and Microsoft Start, helping businesses reach millions of potential customers. Setting up Bing Ads on your website can help you generate revenue through clicks and impressions.

    Step-by-Step Guide to Setting Up Bing Ads on Your Website

    Step 1: Create a Microsoft Advertising Account

    1. Go to the Microsoft Advertising website → ads.microsoft.com.
    2. Click Sign Up and choose whether to sign in with an existing Microsoft account or create a new one.
    3. Enter your business name, website URL, country, and time zone.
    4. Accept the terms and click Create Account.

    Step 2: Set Up Your Website for Bing Ads – Once your account is created, you’ll need to integrate ads into your website. There are two main ways to do this:

    Option 1: Use the Microsoft Audience Network (MSAN) for Display Ads

    The Microsoft Audience Network allows you to display Bing Ads on your website, similar to Google AdSense.

    How to Enable Microsoft Audience Network (MSAN) Ads:

    1. In your Microsoft Advertising dashboard, go to Tools > Audience Network Setup.
    2. Click “Create an Ad Unit” and select the type of ad format (display ads, native ads, or text ads).
    3. Customize the ad settings (size, style, colors).
    4. Generate the Ad Code and copy it.
    5. Paste the ad code into your website’s HTML source code (usually in the <head> section, sidebar, or within content areas).

    💡 Tip: Place ads in high-visibility areas like the top of articles, sidebars, or within content for better engagement.

    Option 2: Monetize Content with Microsoft Start Partner Program (MSN Content Monetization)

    If you run a news, blog, or media site, you can earn revenue by syndicating your content to Microsoft Start and MSN.

    How to Apply for Microsoft Start Partner Program:

    1. Visit the Microsoft Start Partner Hub.
    2. Submit your website for review (make sure you have high-quality, original content).
    3. If approved, your articles will be displayed on MSN, Microsoft Edge, and Bing News, generating revenue from Microsoft’s ad network.

    💡 Tip: This works best for publishers, bloggers, and media sites looking to expand their audience and monetize content.

    Step 3: Install Microsoft Clarity for Website Insights (Optional but Recommended)

    To track how visitors interact with your ads, install Microsoft Clarity, a free analytics tool that provides heatmaps and session recordings.

    How to Set Up Microsoft Clarity:

    1. Go to clarity.microsoft.com and sign up.
    2. Add your website and generate the Clarity tracking code.
    3. Paste the code into your website’s <head> section.
    4. Use Clarity’s dashboard to analyze visitor behavior and improve ad placements.


    Step 4: Optimize Ads for Higher Revenue

    1. Test different ad placements – Try sidebar ads, in-content ads, and header ads to find the best-performing spots.
    2. Use responsive ads – Ensure ads fit all screen sizes for mobile and desktop users.
    3. Filter low-performing ads – In the Microsoft Advertising dashboard, block irrelevant ads that don’t convert well.
    4. Improve website speed – A slow-loading website can reduce ad revenue. Use tools like Google PageSpeed Insights to optimize performance.

    Step 5: Monitor Earnings and Get Paid

    Go to the Microsoft Advertising dashboard to view earnings and ad performance.Payments are made through bank transfer, PayPal, or check, depending on your country.The minimum payout threshold varies, but typically it’s $100 before you can withdraw funds.